
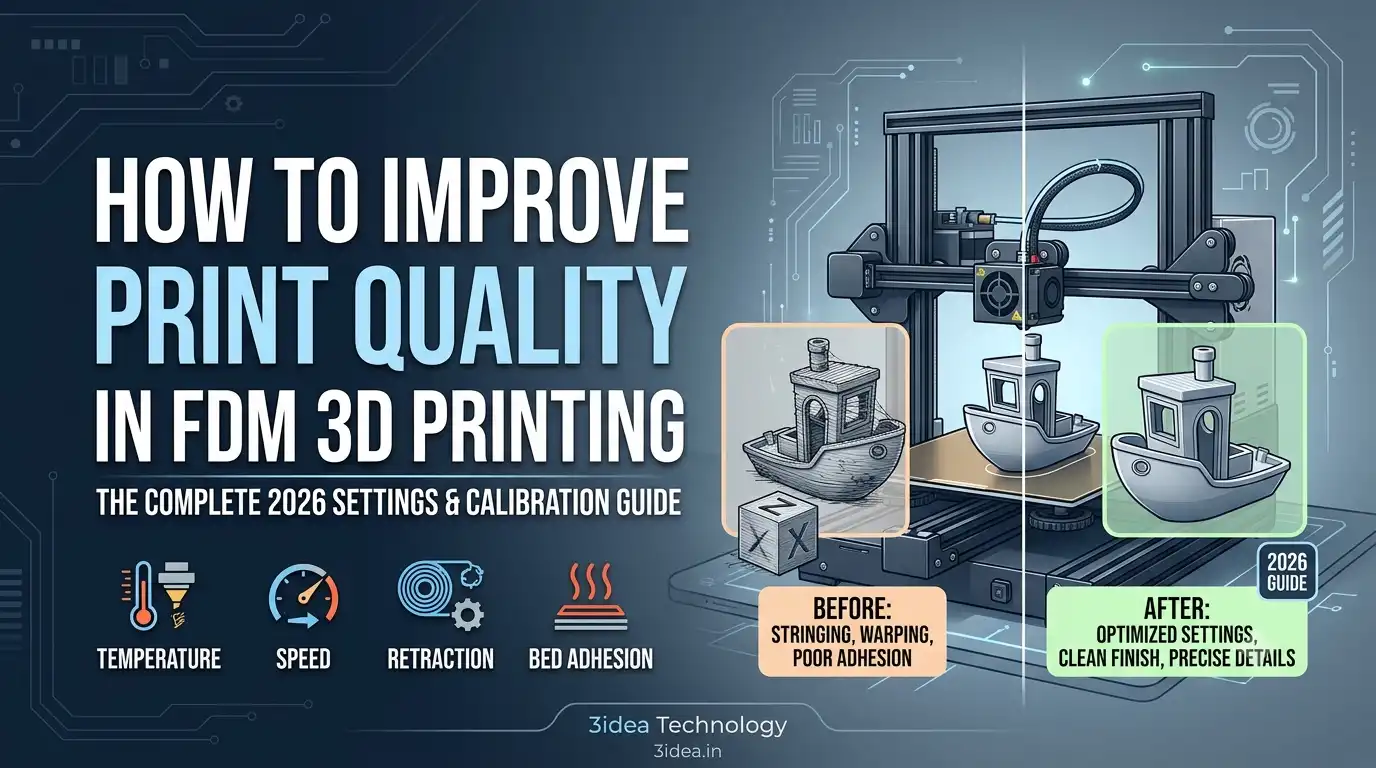
Every FDM user eventually hits the same wall: prints come off the bed looking rougher, stringier, or less accurate than they should. The hardware is capable; the slicer is full of settings; the filament is good — but the results are inconsistent. The gap between mediocre and excellent print quality is almost entirely about systematically dialling in the right settings.
This complete FDM 3D printing settings guide walks through the changes that deliver the biggest improvements, with practical values to start from and the calibration sequences that lock in consistent quality.
Quick Wins: Top 5 Settings to Instantly Improve Print Quality
If you only have an hour to spend on improving prints, start here:
Reduce layer height to 0.12 mm for high-detail prints (from a default of 0.2 mm)
Re-level the bed and calibrate the first layer carefully
Tune nozzle temperature with a temperature tower for your specific filament
Adjust retraction settings to eliminate stringing
Slow down print speed to 40–60 mm/s for visible exterior surfaces
These five adjustments deliver the bulk of the visible quality improvement. Everything else is refinement.
Layer Height and Resolution
Layer height is the single biggest knob for surface finish. Lower values produce smoother surfaces with finer detail; higher values print faster but show more visible layer lines.
Recommended starting points:
0.08–0.12 mm: high-detail work — miniatures, jewellery prototypes, fine-feature parts
0.16–0.20 mm: general-purpose printing — the most common range
0.24–0.32 mm: fast prototyping where surface finish is less critical
Match layer height to the smallest critical detail on your model. For everyday prints, 0.16 mm is an excellent balance of speed and quality.
Temperature Settings
Incorrect nozzle and bed temperatures cause weak layers, stringing, and poor adhesion in roughly equal measure.
Recommended starting ranges:
PLA: 200–215 °C nozzle, 60 °C bed
PETG: 230–245 °C nozzle, 80 °C bed
ABS: 230–250 °C nozzle, 100–110 °C bed (enclosure required)
TPU: 220–235 °C nozzle, 50 °C bed
PLA+ / PLA Pro: 210–225 °C nozzle, 60 °C bed
Print a temperature tower — a structured calibration print that tests multiple temperatures in one job — to find the exact sweet spot for your specific filament and machine.
Print Speed Optimisation
Speed and quality trade off directly. Higher speeds reduce accuracy and surface finish; slower speeds improve both at the cost of print time.
Practical speed guidance:
Outer walls (visible surface): 30–50 mm/s
Inner walls and infill: 60–80 mm/s
Travel moves: 150–200 mm/s
First layer: 20–30 mm/s regardless of overall speed
Modern high-speed printers (Bambu Lab X1, Anycubic Kobra 3, Creality K1) handle much higher speeds with input shaping and pressure advance, but the principle holds: slower exterior walls = better surface finish.
Retraction Settings
Retraction prevents oozing and stringing during travel moves. Bad retraction settings are the single biggest cause of stringy, blobby prints.
Starting values:
Bowden extruders: 5–6 mm retraction distance, 40–60 mm/s speed
Direct drive extruders: 0.8–2 mm retraction distance, 30–40 mm/s speed
PETG: start with 5 mm and tune carefully (PETG strings more than PLA)
TPU: minimal retraction — flexible filament resists clean retracts
Print a retraction tower to dial in the exact value for your filament-printer combination. Once tuned, retraction settings are stable for the life of that filament type.
Bed Adhesion
A reliable first layer is the foundation of every successful print. Bad bed adhesion ruins prints before they begin.
Steps to lock in great adhesion:
Clean the bed with 91%+ isopropyl alcohol before every important print
Run a proper bed-level routine (auto or manual mesh)
Tune Z-offset until first-layer extrusion is slightly squished — wider than the nozzle width
Slow first-layer speed to 20–30 mm/s
For tall or narrow parts, add a brim (5–8 mm)
For ABS / nylon / PETG, use a heated bed and consider an enclosure
Bed adhesion is a one-time investment in setup, not a daily struggle.
Settings Cheat Sheet (Quick Reference)
Use this as a starting point. The values above are deliberately conservative — they almost never fail. Tune from there for your specific filament and use case.
Step-by-Step Calibration Guide
A complete one-time calibration sequence that locks in quality for months:
Bed levelling. Auto-level mesh or manual paper test.
Z-offset / first layer. Print a one-layer calibration square and tune until extrusion looks slightly squished.
E-steps calibration. Confirm 100 mm commanded extrusion actually delivers 100 mm of filament.
Flow rate. Print a single-wall calibration cube and measure wall thickness; adjust flow accordingly.
Temperature tower. Find the cleanest temperature for your filament.
Retraction tower. Find the cleanest retraction for your printer-filament combination.
Acceleration / pressure-advance tuning (advanced).
Run this sequence once per filament change or every few months. It is the single highest-leverage time investment a 3D printing user can make.
Common Problems and Fixes
Stringing
Cause: temperature too high, retraction insufficient
Fix: drop nozzle temp 5–10 °C, increase retraction distance/speed
Warping
Cause: uneven cooling, especially with ABS or large PLA prints
Fix: heated bed at correct temperature, enclosure for ABS, brim for grip
Layer Lines
Cause: layer height too high, inconsistent extrusion
Fix: reduce layer height, calibrate flow rate, check belt tension
Under-Extrusion
Cause: clogged nozzle, low flow rate, moist filament
Fix: clean nozzle (cold pull), increase flow, dry filament if needed
Over-Extrusion
Cause: flow rate too high, e-steps miscalibrated
Fix: calibrate e-steps, reduce flow rate by 2–5%
Filament Quality Matters
Even perfect settings cannot rescue bad filament. The qualities that affect printability:
Tight diameter tolerance (±0.02 mm or better)
Consistent colouring and roundness
Properly sealed and dry packaging
Low moisture content
Stick with trusted brands — Bambu Lab, eSUN, 3idea’s in-house filament range, and Polymaker for premium work. Store filament in airtight containers with desiccant; moist filament is the single biggest cause of inconsistent quality. Browse premium FDM filaments on 3idea: https://www.3idea.in/products/filaments.
Slicer Settings Optimisation
Modern slicers — Cura, PrusaSlicer, OrcaSlicer, Bambu Studio — offer an enormous tuning surface. The settings worth focusing on first:
Wall count (3+ for strong parts, 2 for fast prototypes)
Top/bottom layers (5+ for clean top surfaces)
Infill pattern (gyroid for strength, lines for speed)
Infill density (15–25% for visual parts, 40%+ for functional)
Combing (reduces travel, reduces stringing)
Coasting (for very stringy filaments)
Pressure advance / linear advance (sharper corners, advanced)
A well-tuned slicer profile, paired with a calibrated printer, produces consistently excellent prints with almost no babysitting.
Pro Tips for Better Results
Hard-earned habits from experienced users:
Use a smaller nozzle (0.2 mm) for ultra-fine detail; a larger nozzle (0.6 or 0.8 mm) for fast prototyping
Keep ambient temperature stable — drafts cause uneven cooling on large prints
Lubricate linear rails and lead screws every few months
Replace nozzles routinely — they wear faster than most users expect
Use mesh bed levelling if the bed is even slightly warped
These are the small habits that compound into long-term reliability.
Before vs After: The Visible Improvement
A printer dialled in by this guide vs an out-of-the-box default setup will produce:
30–50% better surface finish on visible walls
70%+ reduction in stringing
Near-zero first-layer failures
Print-to-print consistency that lets you treat the printer as a production tool
The improvement is dramatic. The settings to get there are well-understood.
Conclusion
Improving FDM print quality isn’t magic — it’s a disciplined sequence of calibration steps and informed settings choices. Run the full calibration sequence once, build a settings library for the filaments you actually use, and treat your printer as a production tool rather than a hobby project.
The result is consistently excellent prints, fewer failed jobs, and far less wasted filament.
Browse FDM 3D printers, premium filaments, and upgrade accessories on 3idea Technology: https://www.3idea.in/products/3d-printers